Car Care
/
A practical guide to washing, drying, contamination removal, and professional maintenance after a ceramic coating installation.
News
A workshop look at inspection, cleaning, decontamination, lighting, tool selection, and final checks before a finished detailing result.
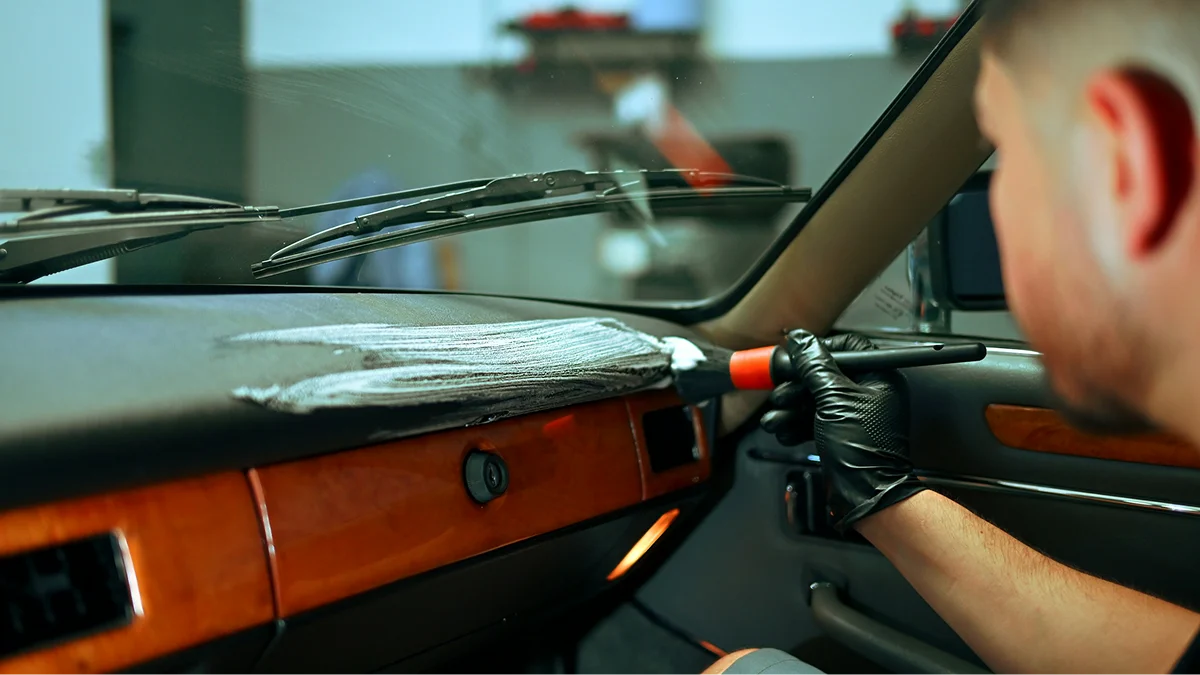
Finished detailing photos show gloss, clarity, and clean surfaces. They rarely show the inspection, cleaning, testing, and protection of sensitive areas that made the result possible. In professional work, preparation often determines how safely and consistently the visible step can be completed.
The preparation process changes with the service. A maintenance detail, paint correction, ceramic coating, and film installation do not require identical steps. Each starts with understanding the vehicle and choosing a process that fits its actual condition.
Good preparation begins before tools touch the vehicle. The technician looks at paint condition, contamination, previous repairs, sensitive trim, wheel finishes, interior materials, and areas the customer wants to improve. Lighting from more than one angle can reveal swirls, staining, residue, or texture that is easy to miss outdoors.
This inspection helps set realistic expectations. A shallow wash mark, deep scratch, stone chip, and failed clear coat are different problems. Treating them as the same can lead to unnecessary work or an unsafe attempt to chase a perfect finish.
Loose dirt and road film must be removed before close inspection or corrective work. Wheels, tires, jambs, body panels, and detail areas may need separate products and tools. Rinsing first reduces the chance of dragging grit across a surface.
After washing, bonded contamination may still remain. Paint can hold iron particles, tar, mineral deposits, or overspray that normal shampoo will not remove. Appropriate chemical or mechanical decontamination creates a cleaner surface for correction and protection, but the method should match the material and condition.
Before polishing, the technician assesses defect depth, paint response, and available finish. A small test area can help select a pad, polish, machine, and working method. More aggressive correction is not automatically better; the appropriate goal balances visible improvement with responsible material removal.
Residue from polishing can hide the finish or interfere with a later coating. Panels should be checked and prepared according to the next step. The process may include removing polish oils with a compatible surface cleaner and keeping hands, towels, and dust away from ready panels.
Controlled lighting helps reveal defects during the job, not only at the end. Sensitive edges, textured plastic, emblems, and adjacent materials may be masked or otherwise protected where the process calls for it. The vehicle is divided into workable areas so each section receives consistent attention.
A sensible work order also prevents recontamination. Dust from one task should not settle onto a prepared surface, and wet processes should not interfere with dry inspection or protection steps.
The customer should understand what the service is intended to improve and where limitations may remain. Existing chips, deep scratches, worn surfaces, previous repairs, and material damage can affect the plan. Discussing those points before work begins prevents assumptions and helps the technician focus on the owner’s priorities.
Clear communication also guides practical decisions about budget and vehicle use. A daily driver may need durable, maintainable improvement, while a carefully stored vehicle may justify a different level of correction or protection.
Professional detailing involves paint, glass, metal, plastic, rubber, leather, textiles, and coated surfaces. One cleaner, brush, pad, or towel does not suit every material. Product strength, dwell time, agitation, temperature, and removal method all affect the outcome.
Careful selection reduces unnecessary risk. It also allows the technician to adjust when a test area shows that the initial plan is not appropriate.
A result should be inspected after residue is removed and surfaces are dry. Different lighting can reveal missed polish, streaks, uneven dressing, trapped moisture, or areas needing a final adjustment. Touch points and surrounding areas are checked before the vehicle is returned.
Understand the vehicle before recommending work.
Remove contamination before it is dragged across a surface.
Choose tools and products based on tested response.
Protect sensitive materials during correction or installation.
Inspect the completed work under useful lighting.
Preparation is not extra work added for appearance. It is the foundation for careful work, realistic results, and fewer shortcuts. The final photo may capture the finish, but the quality of the result begins much earlier in the process.
Get Template - Free